Build An AI Agent With Google Vertex AI: A Step-By-Step Guide
A complete guide on building AI agents with Google's Vertex AI AI Agent Builder.
Ever since autonomous agents became a hot topic in the field of generative AI, I have always been fascinated by the use cases and practical applications that users can build with this technology. In fact, I have created my own AI agents before like this one that stalk anyone on the internet.
However, the process of creating AI agents over a year ago was highly technical, and the AI itself wasn’t that impressive, often leading to hallucinations and agents going in circles during conversations.
Fast forward to today, creating AI agents on platforms like the ones that Google recently launched in Vertex AI is a lot simpler and the quality of responses we get from them is far more decent.
In this article, I am going to walk you through the process of building AI agents on Vertex AI. Before we get into the actual steps, let’s talk about some terminologies some may not be familiar yet.
What are AI agents?
AI agents are a type of artificial intelligence that can operate autonomously to achieve specific goals.
Unlike traditional AI models that require human input and prompts for each interaction, AI agents are designed to think and act independently once they are given an objective.
What is Vertex AI?
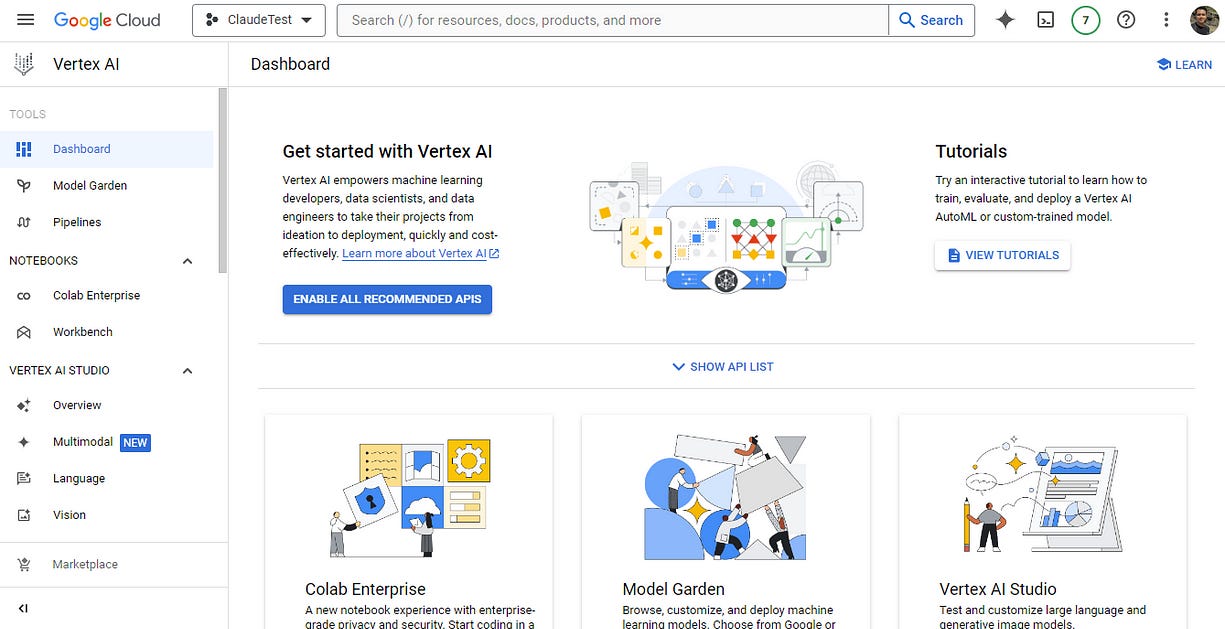
Google Cloud Vertex AI is a unified artificial intelligence platform that offers all of Google’s cloud services under one roof. It provides pre-trained APIs for various applications, including video, vision, and natural language processing, enabling easy integration with existing applications.
Okay, now that you’re familiar with AI agents and Vertex AI, you can start creating your own AI agents.
Step #1: Get into Google Agent Builder
Log into Google Cloud Console and navigate to the Agent Builder dashboard.
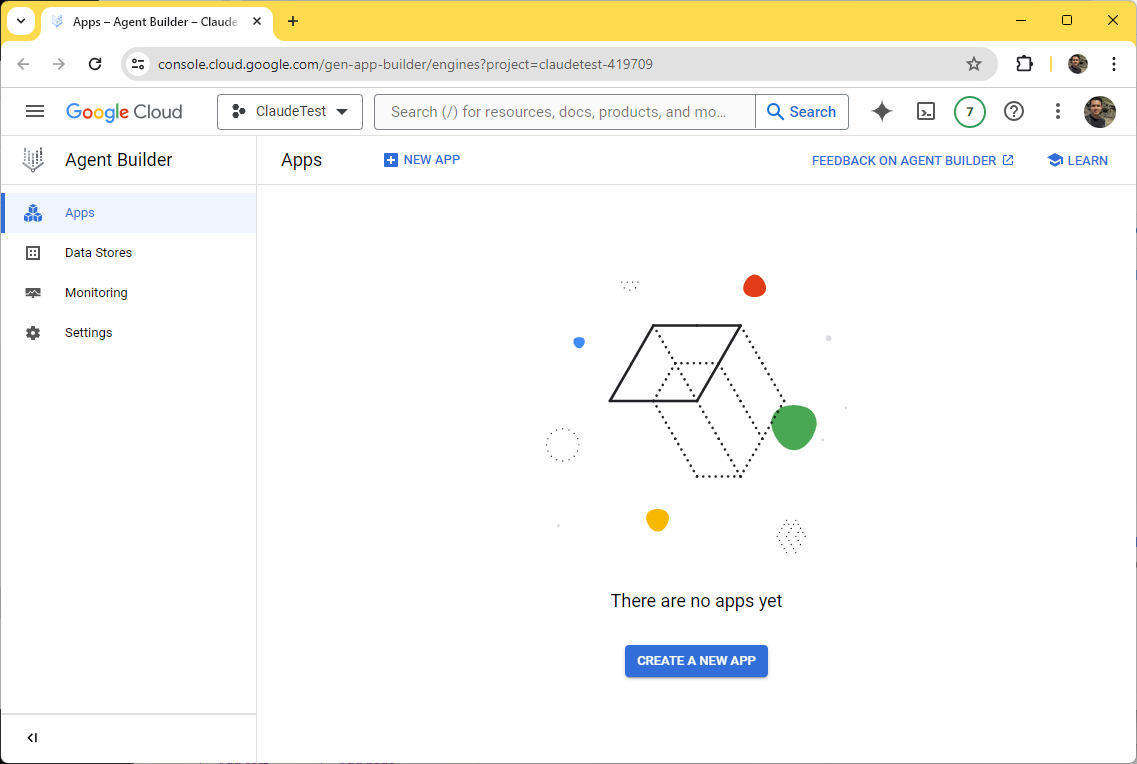
Click on the “Create a new app” button to start creating an application.
Step #2: Create an AI Agent
Select this option to start creating your AI agent. Be patient, as this step may take some time to complete.
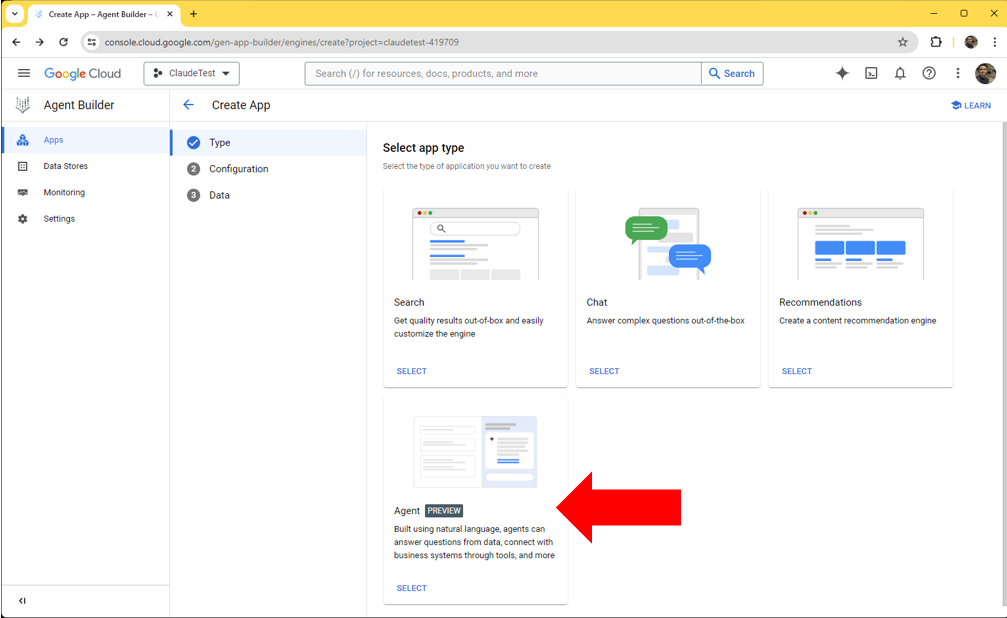
Built using natural language, agents can answer questions from data, connect with business systems through tools, and more
Once your agent is successfully created, you’ll be redirected to a screen where you can give your agent a unique name, like “Title Generator.”
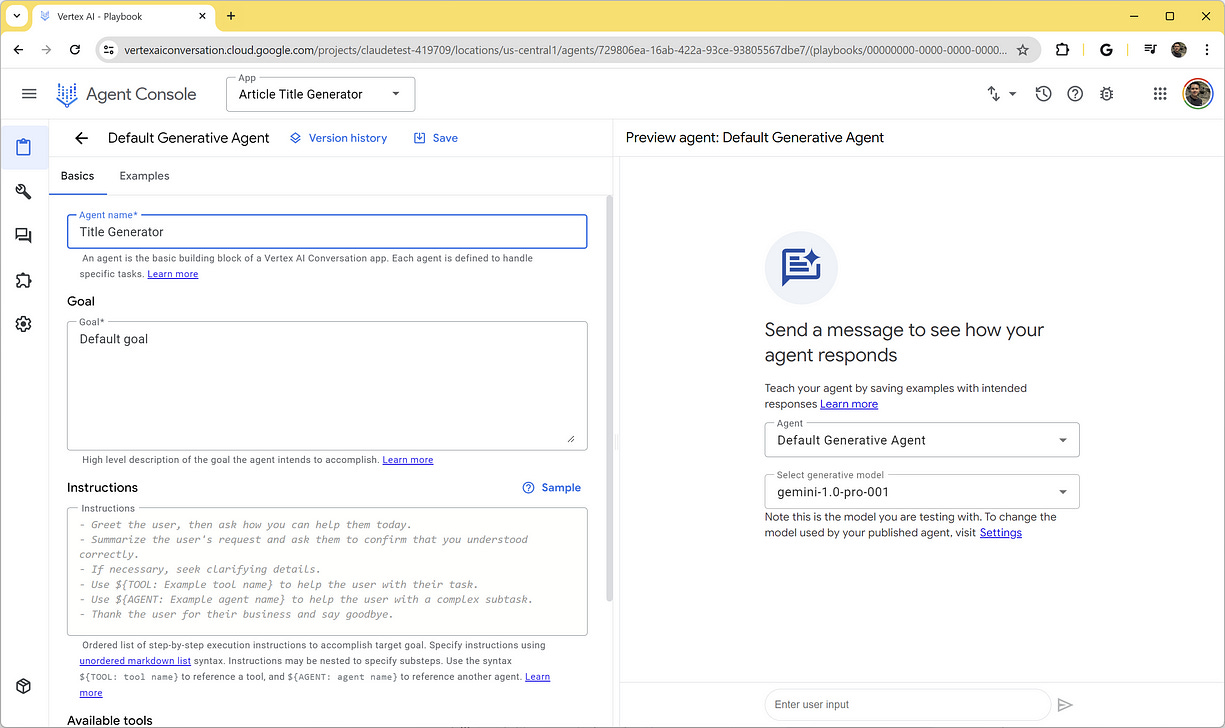
It’s worth noting that the best language model currently available in Vertex AI is gemini-1.0-pro-001, which is a bit disappointing considering Google’s recent promotion of the more advanced Gemini 1.5 model.
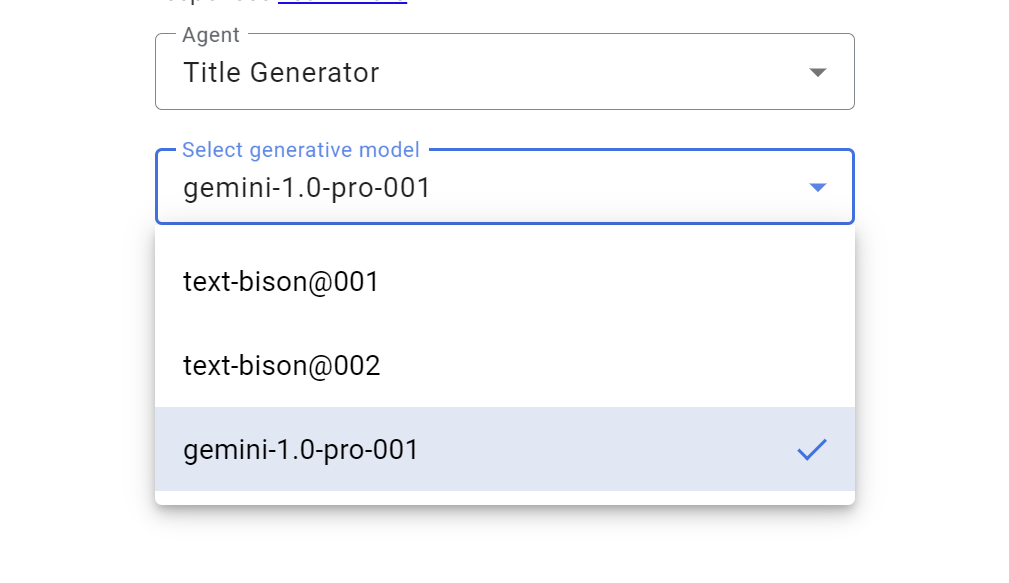
Nonetheless, let’s continue.
Step #3: Set the AI Agent’s Goal
An agent goal is a high-level description of what the agent should accomplish. You don’t have to be very specific on the details of what the agent needs to do at this point.
For our example, let’s say we want our AI agent to research a topic, gather relevant information from the internet, and generate titles for an article. We can set the goal as “To generate 5 title suggestions for a specific topic.”
To generate 5 title suggestions for a specific topic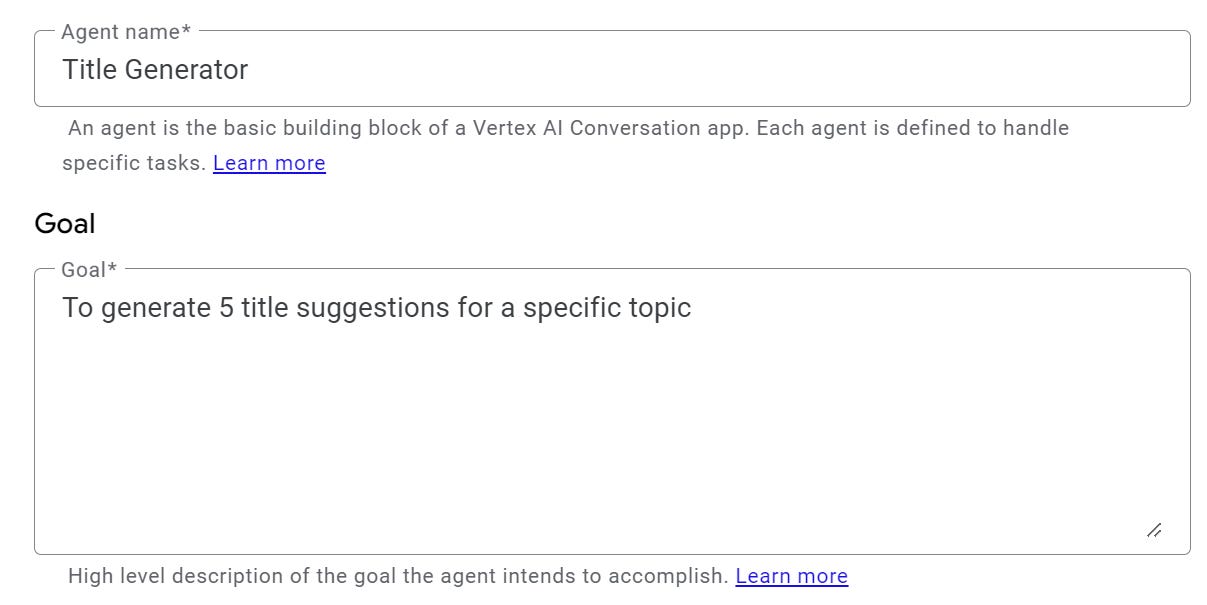
Keep reading with a 7-day free trial
Subscribe to Generative AI Publication to keep reading this post and get 7 days of free access to the full post archives.

