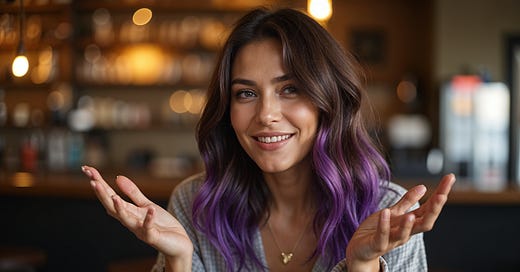
Here's How Viral Talking AI Influencers Are Made In 5 Easy Steps
The world of internet influencers is never going to be the same. In this step-by-step guide, I'll show you how I used five AI tools to create viral talking AI influencer videos in under an hour.
As an AI enthusiast and tech writer, my social media feed is basically a curated gallery of AI-generated media—images, audio, and videos. In recent weeks, one trend has been impossible to miss: viral videos of AI-generated talking influencers. It’s wild how convincing they look (and sometimes how unsettling too).
I mean, just take a look at how impressive these videos are:
I’ll be honest, the uncanny valley is still very much alive in these videos. There’s something about them that feels just a little too artificial, but at the same time, you can’t deny how far AI has come in just the past few months.
It’s mind-blowing and kind of terrifying. You know things are advancing way too fast when AI-generated people start giving TED Talks that make you do a double-take.
From the Ted Talk photos, people started pushing the limits even further, turning those images into videos using AI tools like Runway Gen-3 Turbo and Kling AI. To add that final touch of realism, they threw in some AI-generated voiceovers and lip syncing using RenderNet AI to bring these digital influencers to life.
In this article, I’ll guide you through the complete workflow to create your very own talking AI influencer using four AI tools:
Midjourney or Flux for images
Freepik Upscaler
Kling AI to turn the image into video
RenderNet AI to produce lip-synced videos
Let’s get started.
Step 1: Generate Images
The first step is to generate photorealistic portraits of your AI influencer. You could use any image generator out there, but if you’re aiming for top-notch realism, I recommend Midjourney or Flux.
Here’s an example image generated with Midjourney:
Prompt: A cinematic photography, medium shot, glamour instagram latina woman. She has brown hair with purple highlights. glamour woman. She has a pretty face, She is sitting in a coffee in bar. An influencer, smiling face, with hand gestures as if she’s explaining something
Here’s an image generated with Freepik using the same prompt.
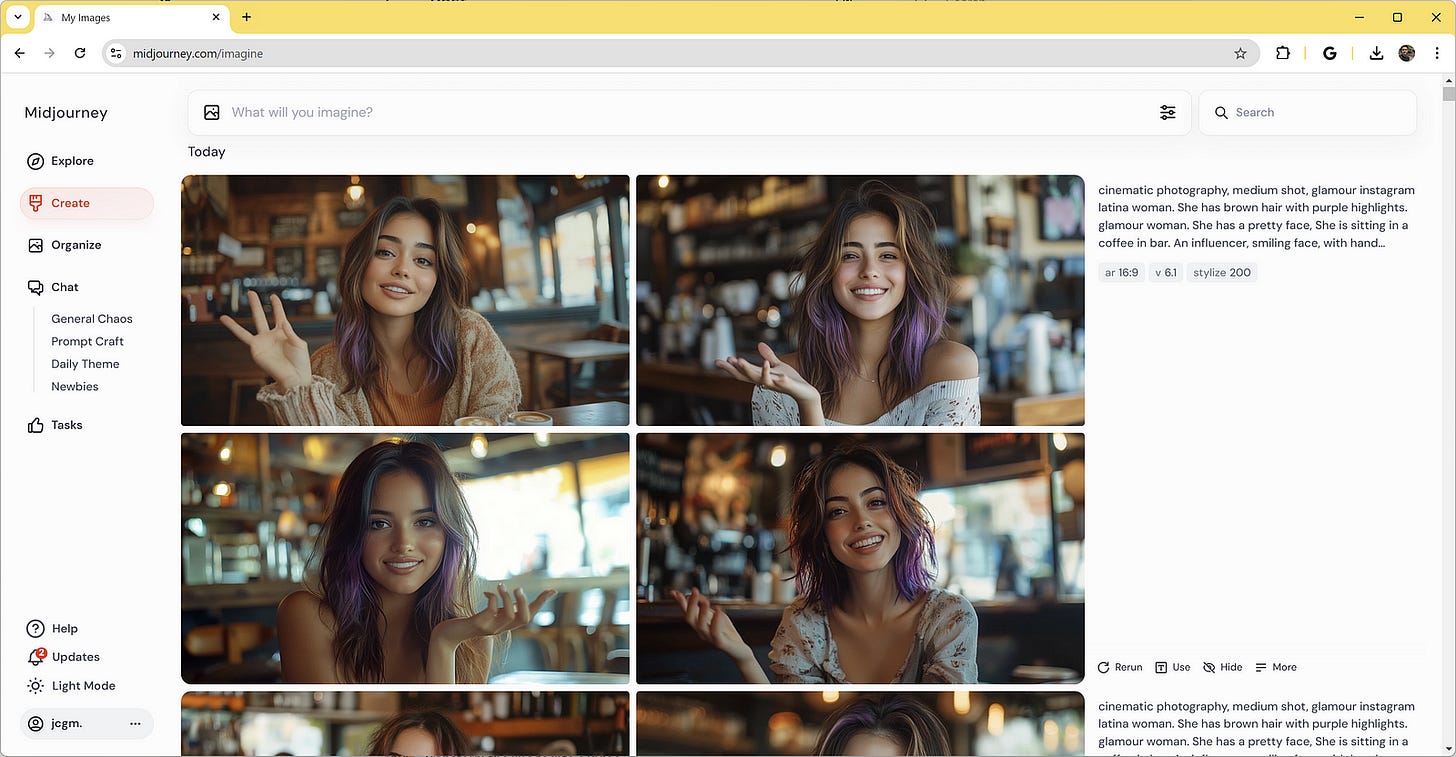
Here’s the one I like best:
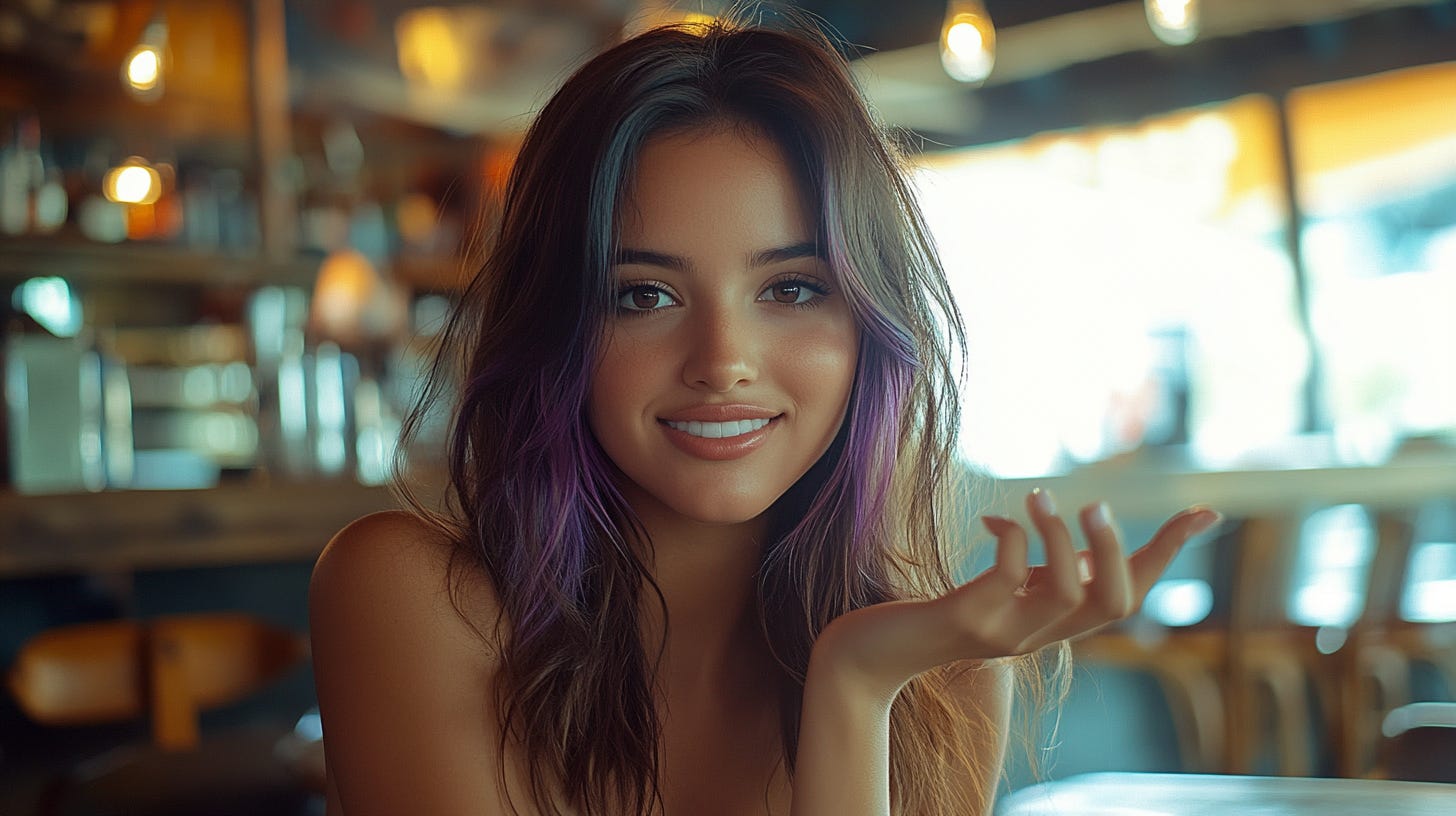
Play with the prompt and generate as much image as you want until you get the perfect shot for your AI influencer.
Step 2: Upscale the Image
For this step, I will be using Freepik image upscaler. This tool is powered by Magnific AI so there’s a guarantee that the result would be really awesome.
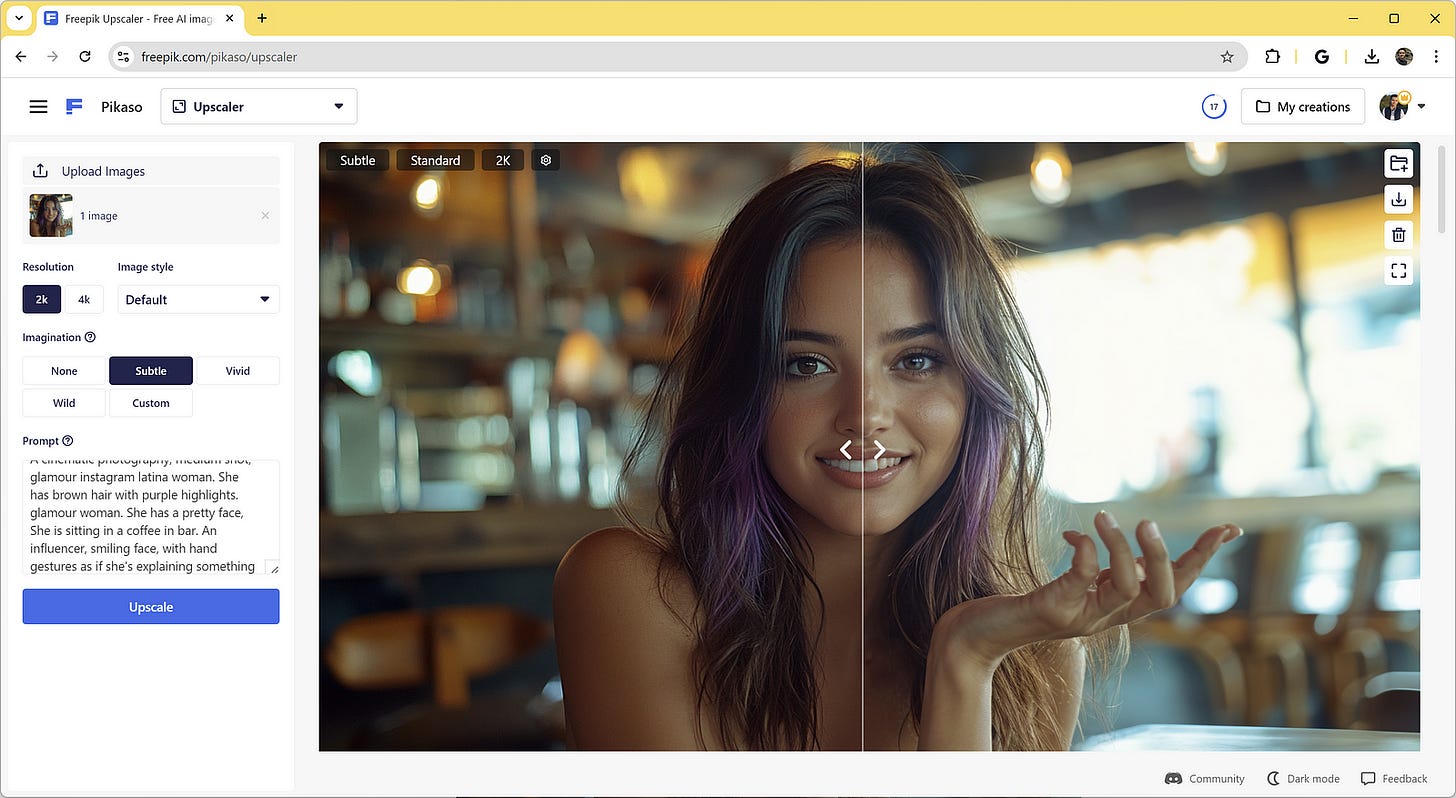
Here’s the final result:
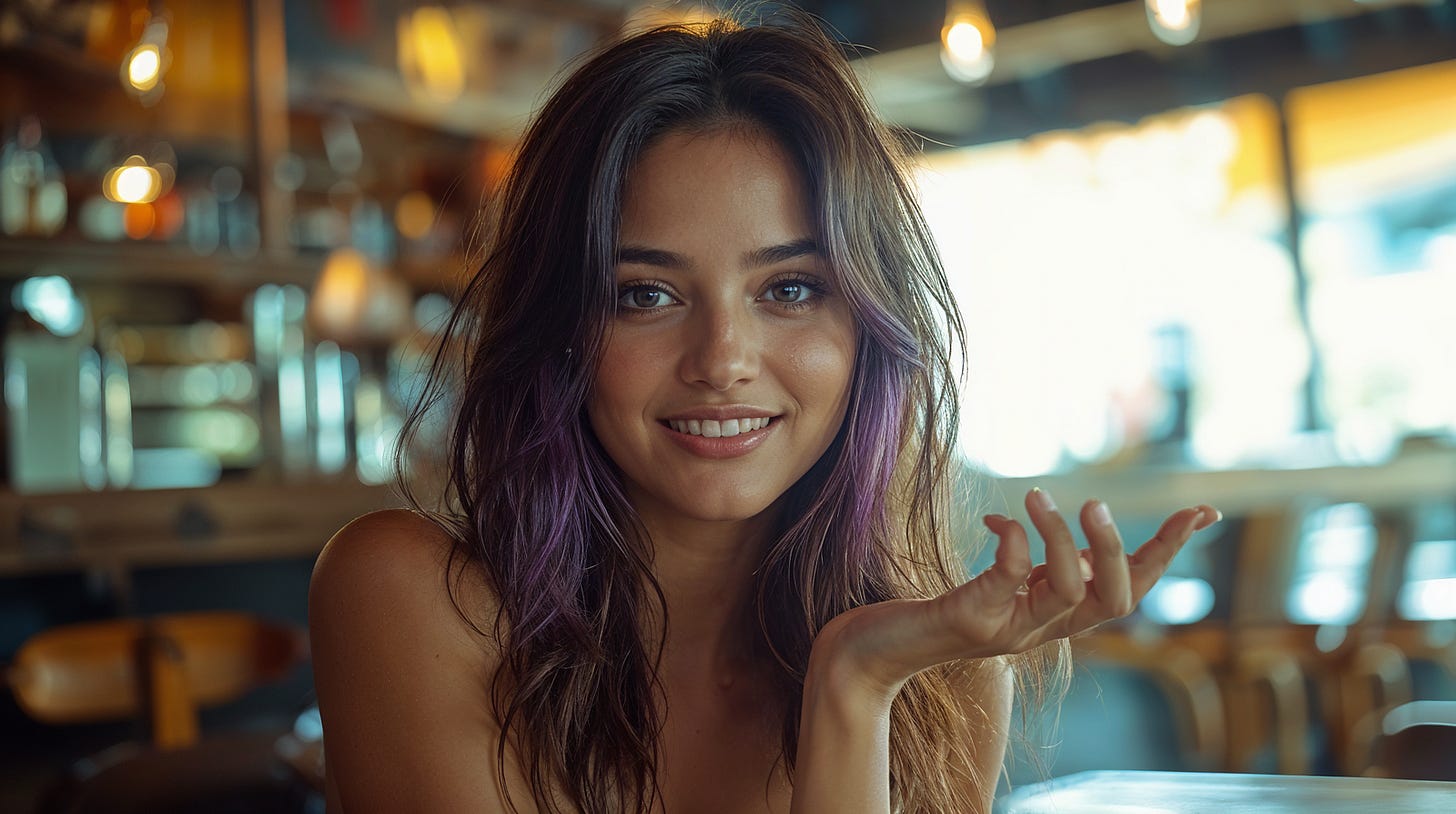
I love how the tool adds texture to the skin and hair, making the overall image more detailed and lifelike. The difference is subtle but makes a world of difference when you’re aiming for that extra layer of realism.
Another way to do it is through the TrueTouch feature from RenderNet AI to upscale an image. Simply go to RenderNet AI dashboard, select the TrueTouch feature and upload the raw image.
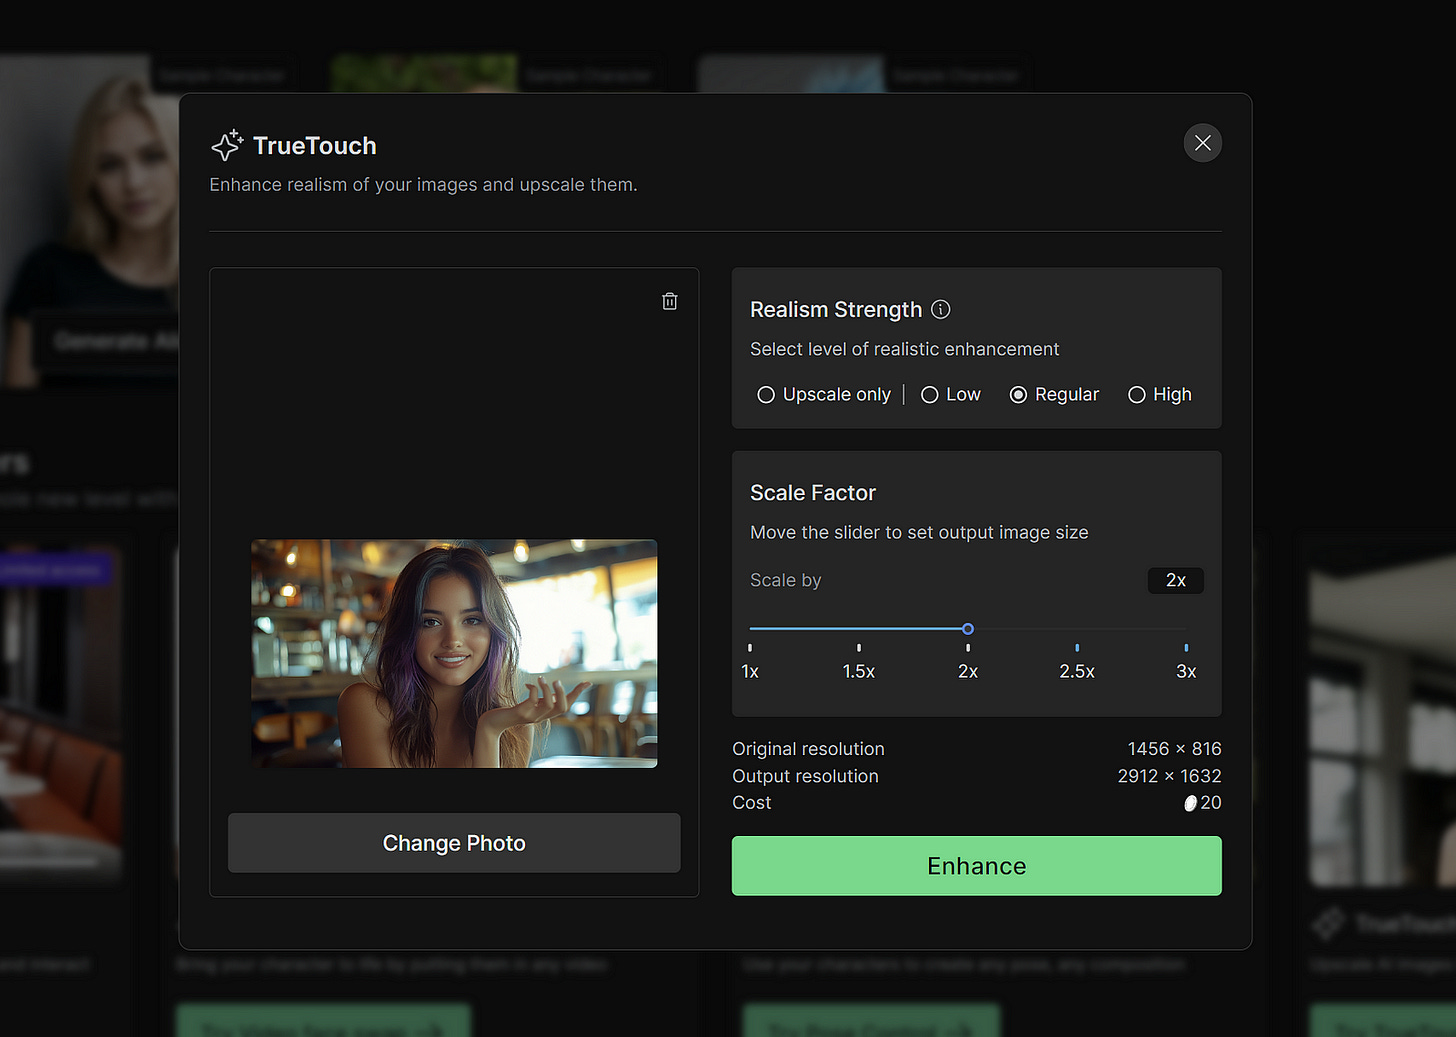
It’s equally powerful and offers a bit more customization in terms of how much you want to enhance the image.
Here’s the final result:
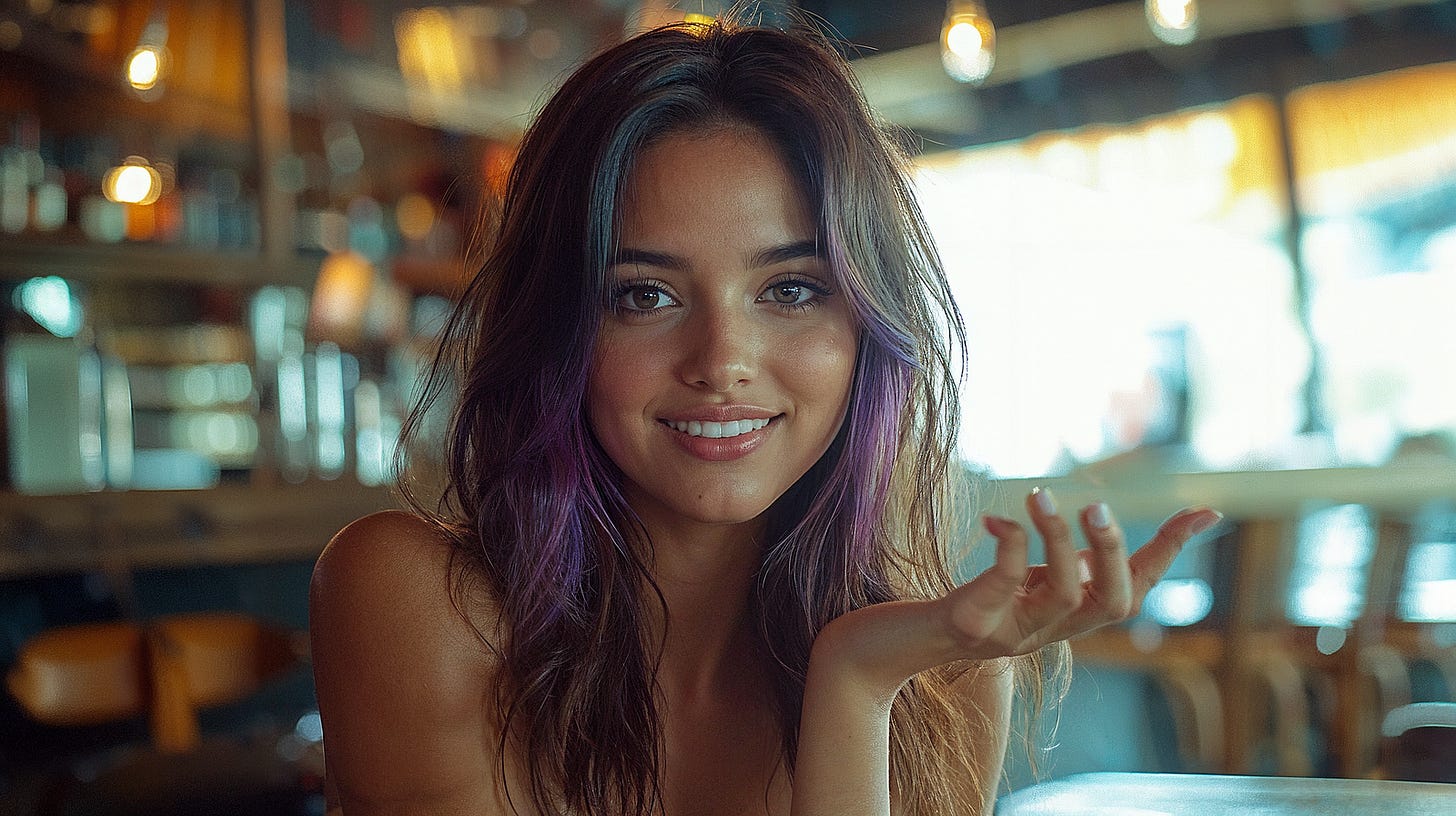
Oh wow, the level of detail on this image looks even better than the ones we did on Freepik. The skin texture is sharper, and the eyes—oh wow, they look incredibly real.
Step 3: Turn the Image into a Video
The next step is to transform the portrait images we created in step 2 to realistic videos. For this, we’re going to need help with AI video generator tools like Runway Gen-3, Kling AI, Vidu, or Dream Machine by Luma.
If you don’t want to pay for the premium service (like me), the best free alternative is Kling AI. Kling offers 66 daily video generation credits, which should be enough to create at least five 5-second video clips.
Head over to the Kling AI website and create an account. Go to the AI videos page and under the “image reference” tab, upload our AI influencer image.
Keep reading with a 7-day free trial
Subscribe to Generative AI Publication to keep reading this post and get 7 days of free access to the full post archives.

