


Train Flux AI Image Model To Generate Unlimited Photos of Yourself
This is a step-by-step guide in fine-tuning Flux, the most advanced open-weight image model from Black Forest Labs, using your own photos.

Today, you can fine-tune the most capable open-weight image model, Flux, from Black Forest Labs to generate unlimited AI images of yourself. The entire process is done in your browser, and you don’t need powerful hardware or write a single line of code.
The fine-tuning capability of Flux on human faces is something that wasn’t easily achievable with previous generations of open-source image models like Stable Diffusion.
If you’re not familiar with Flux image models yet, check out this article.
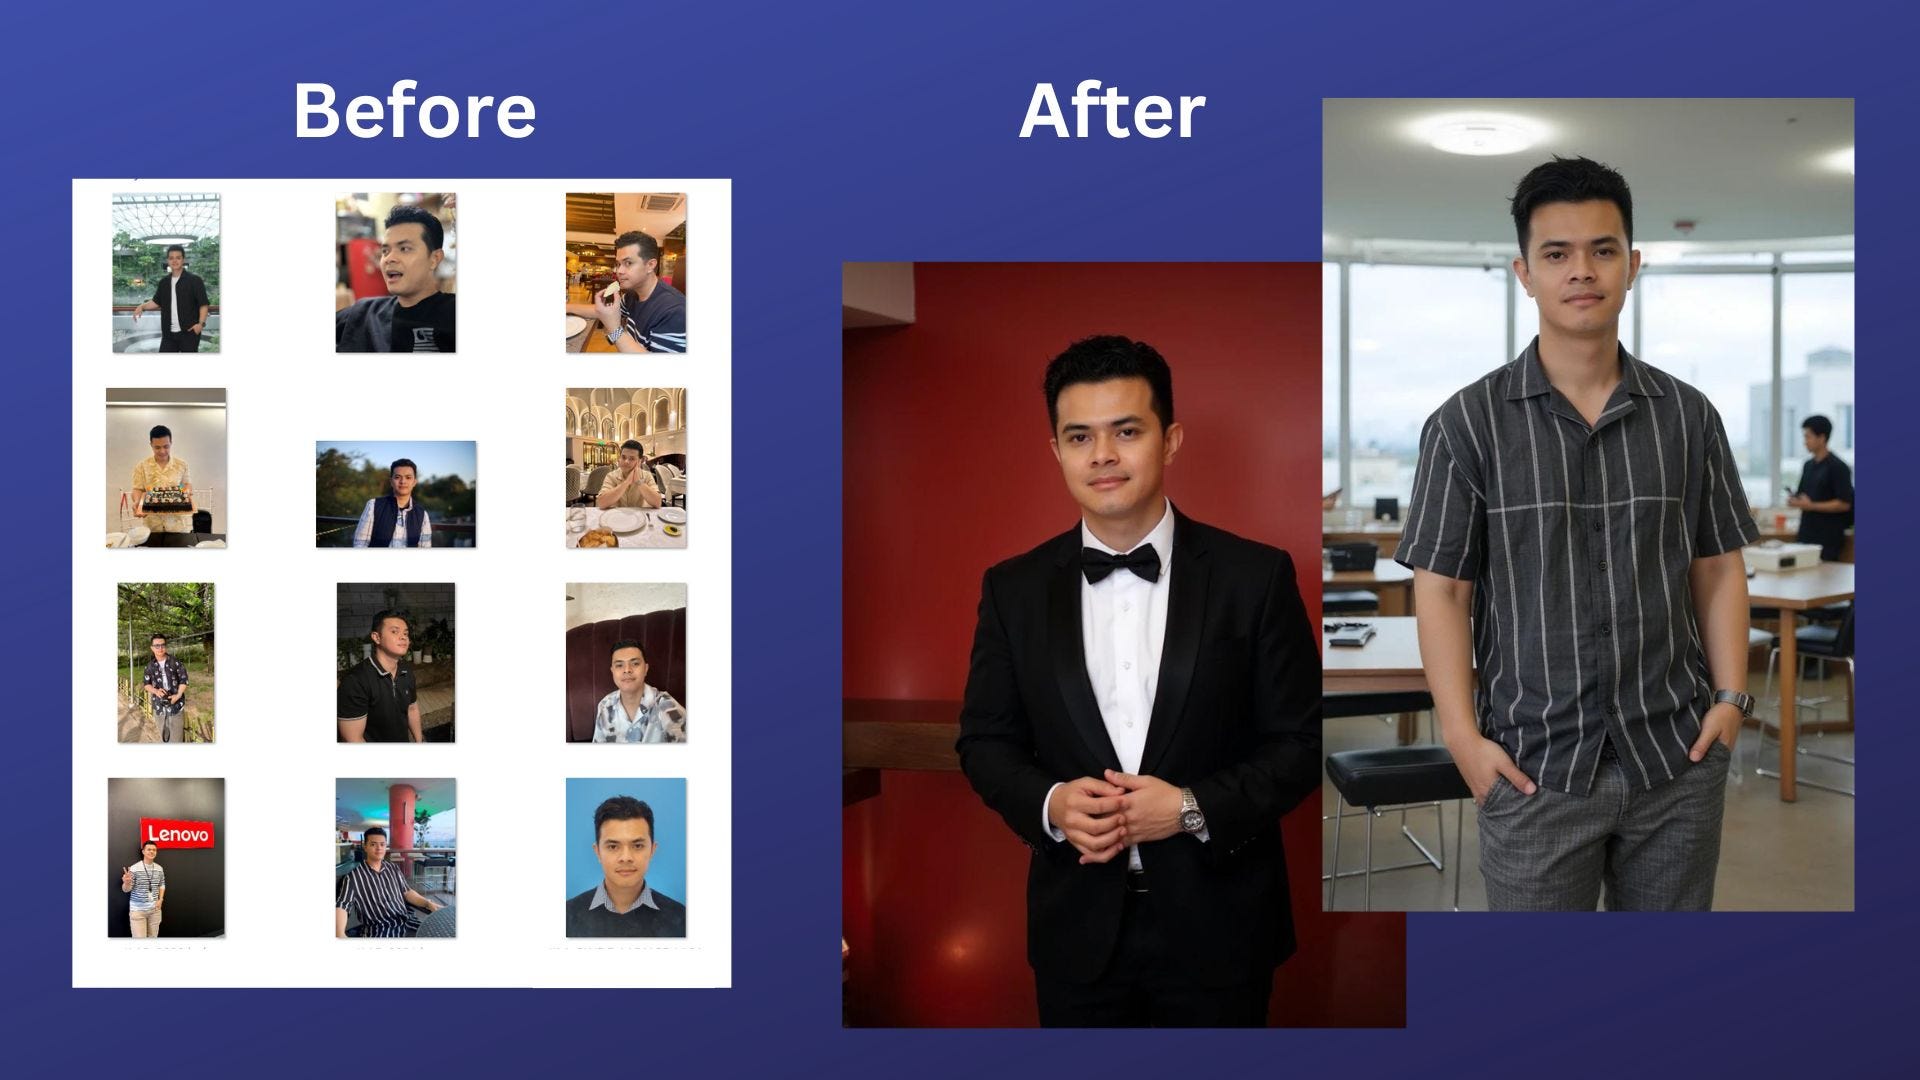
Trust me, the process of fine-tuning Flux is simple, and the results are astonishing. I just fed the AI a bunch of photos of myself from my phone’s gallery, and 20 minutes later, I found myself generating imaginative images of myself in a variety of interesting situations.
In this article, I’ll walk you through the step-by-step process of fine-tuning Flux to generate your personalized AI images. It’s going to be fun, simple, and yes—mind-blowing.
Before you start, you’ll need:
At least 10 clear images of yourself
A Replicate account
A payment method to train the AI model (it’ll only cost $1–2)
If you have these, let’s get started.
Training Flux on Replicate
Step 1: Prepare your training images
The first step in fine-tuning Flux is preparing your training images. Gather at least 10 images of your own face.
These images should show your face clearly. Aim for different angles and lighting conditions to give Flux a good variety to learn from.
They can be in WebP, JPG, and PNG formats
Use HD images, preferably at least 1024x1024 or higher resolution if possible
File names and aspect ratio don’t matter

Remember, the more diverse your images in terms of angles and lighting, the better your results will be. However, keep in mind that using more images will result in longer training times.
Once you’ve gathered your images, place them in a zip file (without a password). You can name the zip file whatever you like.
Step 2: Pick a Unique Trigger Word
When prompting the fine-tuned image model, it’s important to have a unique “trigger word” as an identifier in your text prompt when generating images.
For example, you shouldn’t use generic words like “man” or “dog.” Instead, use your name, like “Jimclyde,” as a trigger word.
Here are some of the things to consider when choosing a trigger word:
It should be something unique, like
MY_UNIQ_TRGGR. Think “vanity license plates”, but without any length limits.It should not be an existing word in any language, like
dogorcyberpunk.It should not be
TOK, because it will clash with other fine-tunes if you ever want to combine them.Case doesn’t matter, but capital letters can help visually distinguish the trigger word from the rest of the text prompt.
Hold on to your trigger word for now — you’ll use it once you train the model.
Step 3: Train the Flux Image Model
Now comes the important part: training the model. Go to your Replicate account, and under the “Explore” tab, find the “flux-dev-lora-trainer.”

In the “Create training” section, set the model destination. You can either use an existing model or create a new one.

In this example, let’s create a new model I’ll call “jimclyde-flux” to train with my own photos. Make sure to set the visibility to ‘private’ to avoid access by other users.

In the input images section, upload the zip file containing the training images.

Next, set the trigger keyword you selected in step 2.

Leave the rest of the fields at default and finally click on the “Create training” button.

Remember, the training won’t start if you don’t add a payment method.

The training process takes around 20 minutes to complete, but it depends on the queue length. To monitor the progress, go to the “Trainings” page and select the model under training.

Once the training is done, you’ll see a success status and a message like this:

The training was successful! You can now run and learn more about your trained model in our web playground or start running predictions via the Replicate API.
You are now ready to do a test run of the fine-tuned model. Click on the “Run trained model” to get started. When adding your prompt, make sure to include your trigger_word in the prompt to activate your newly trained concept in the resulting images.
Generating Images
Now you can start generating custom images. Let’s try an example:
Keep reading with a 7-day free trial
Subscribe to Generative AI Publication to keep reading this post and get 7 days of free access to the full post archives.